
Using Tailscale to Manage Your Homelab
A few days ago, I bought a Mac mini M4 and turned it into my personal homelab. This article records how I set it up and how to seamlessly connect to my homelab remotely using Tailscale.
Set Your Mac mini M4 as a Server
As a server, the Mac mini M4 should run 24/7 in a stable state. To achieve this, go to:
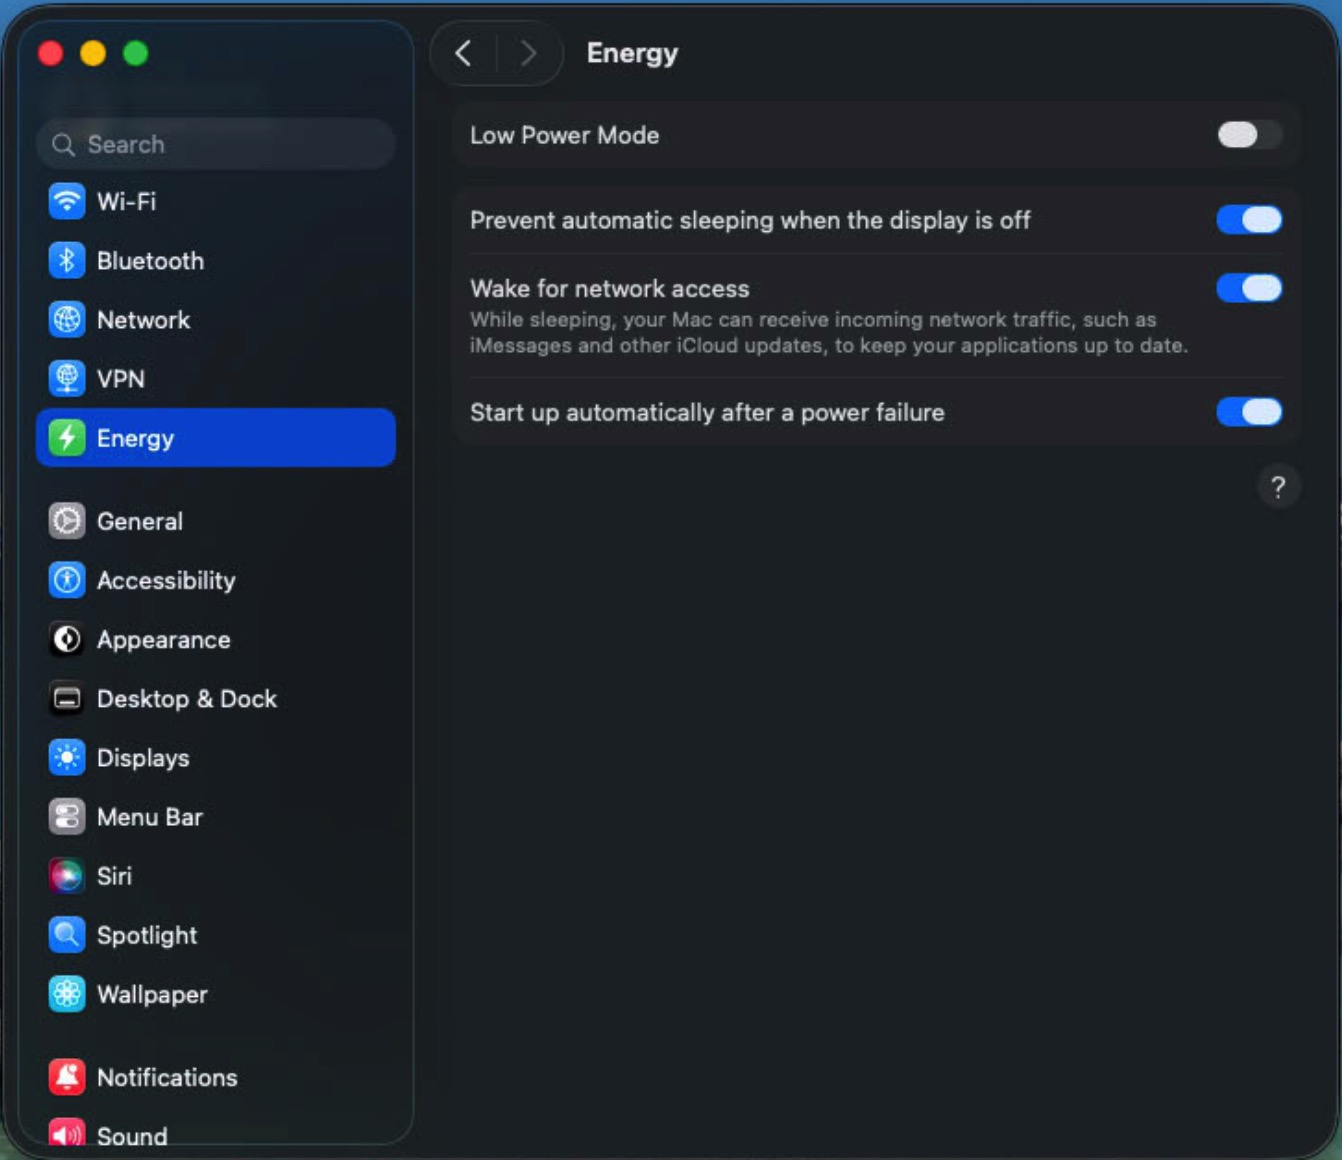
System Settings → Energy, and turn the following options On:
-
Prevent automatic sleeping when the display is off
-
Wake for network access
-
Start up automatically after a power failure
These settings ensure that your homelab remains available even after power outages or long idle periods.
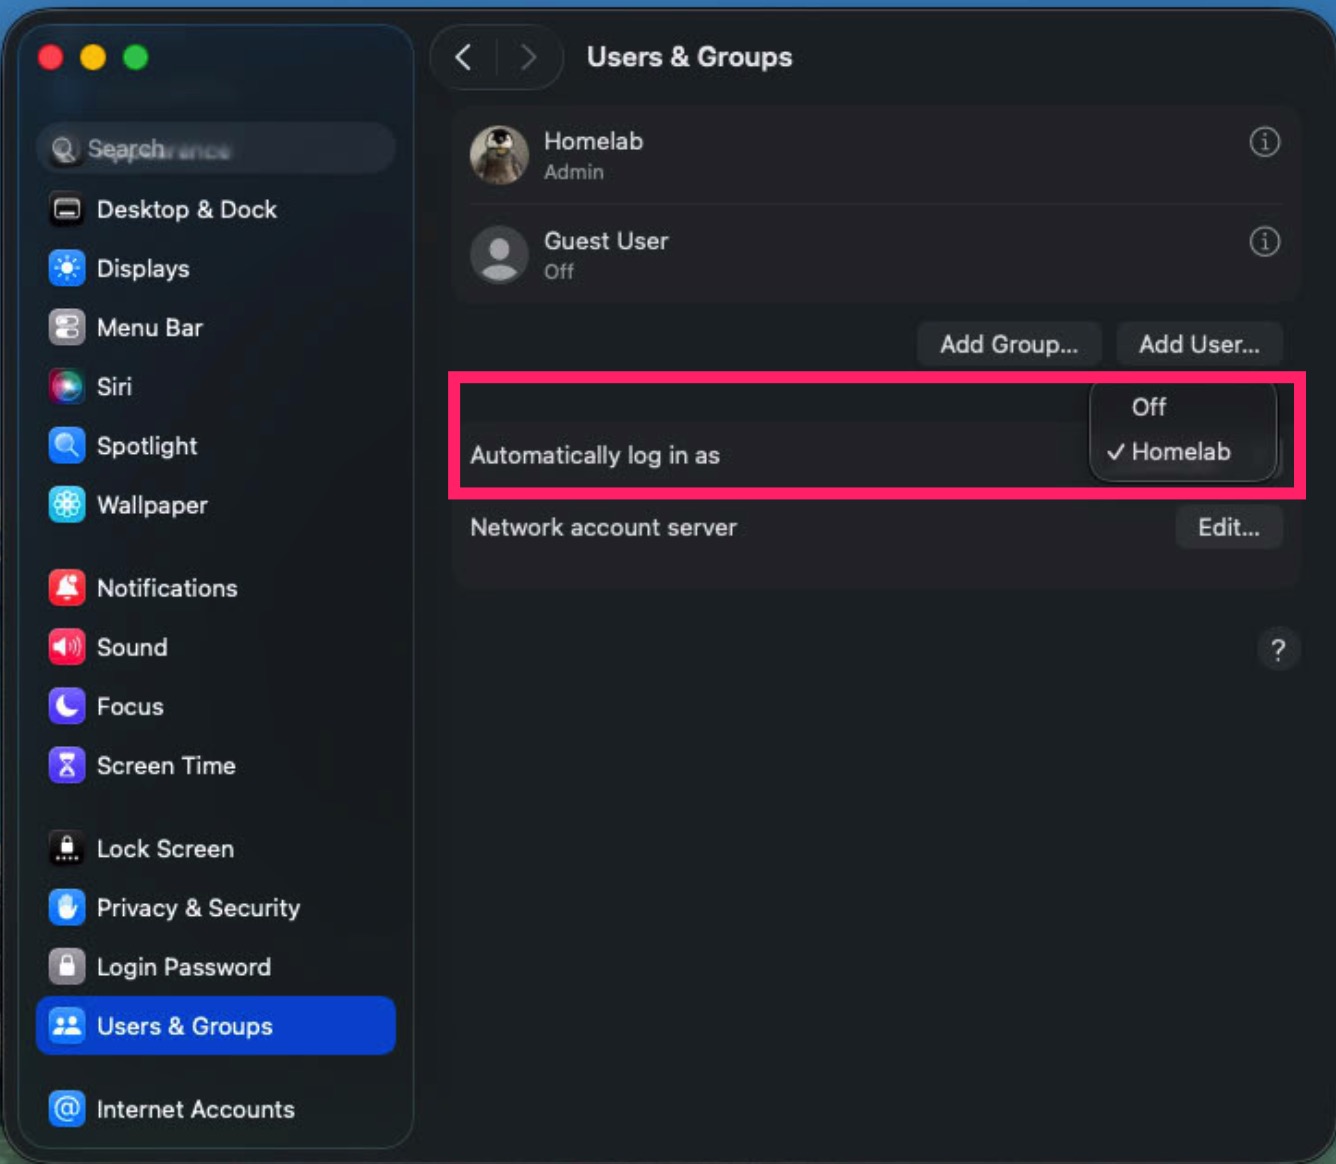
This is important because if the server restarts unexpectedly, macOS will automatically log in and resume services under the admin user’s identity.
-
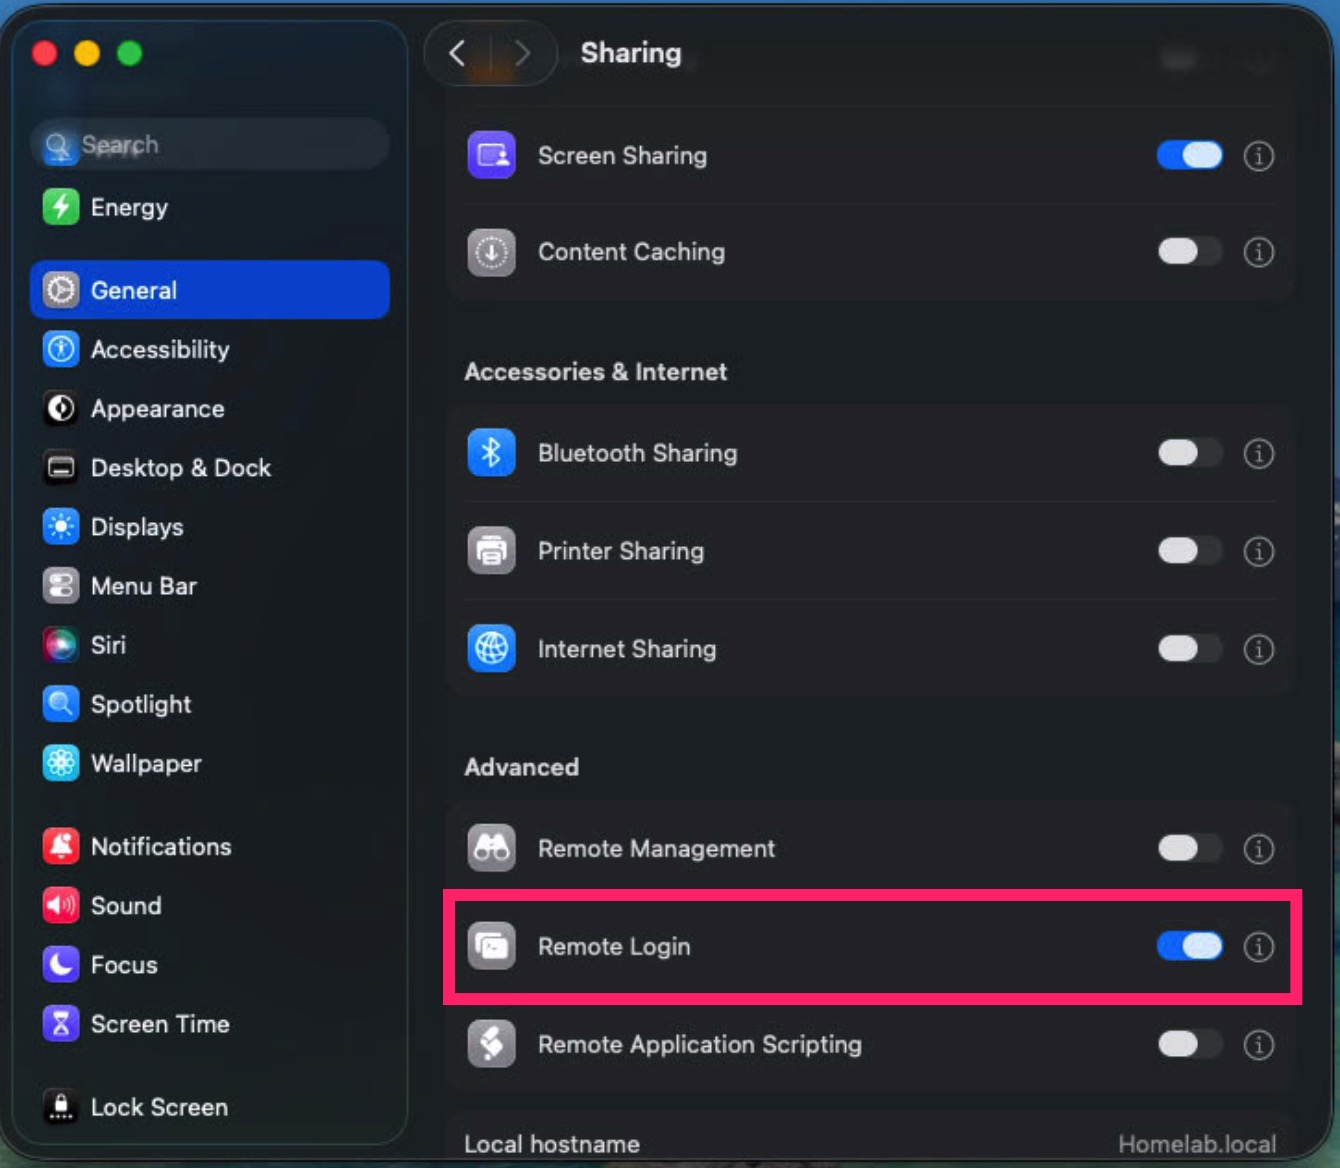
Remote Login
This allows you to access the machine via SSH, which is essential for server management. -
Screen Sharing (Strongly Recommended)
Ideally, after the initial setup, you won’t need a physical monitor, keyboard, or mouse connected to the Mac mini.
Screen Sharing enables remote control via VNC, which is extremely useful because macOS is still a desktop-oriented operating system—SSH alone can’t handle everything.
Register the Tailscale Service
Tailscale works as a managed VPN solution that establishes peer-to-peer (or relayed) connections between devices using the WireGuard protocol.
In simple terms, Tailscale builds a secure tunnel between your homelab and your other devices—so even if you’re on the subway, you can still connect to your Mac mini at home.
Install Tailscale on Your Homelab
-
Download the Tailscale app on your Mac mini.
-
Follow Tailscale’s official onboarding flow to initialize your account.
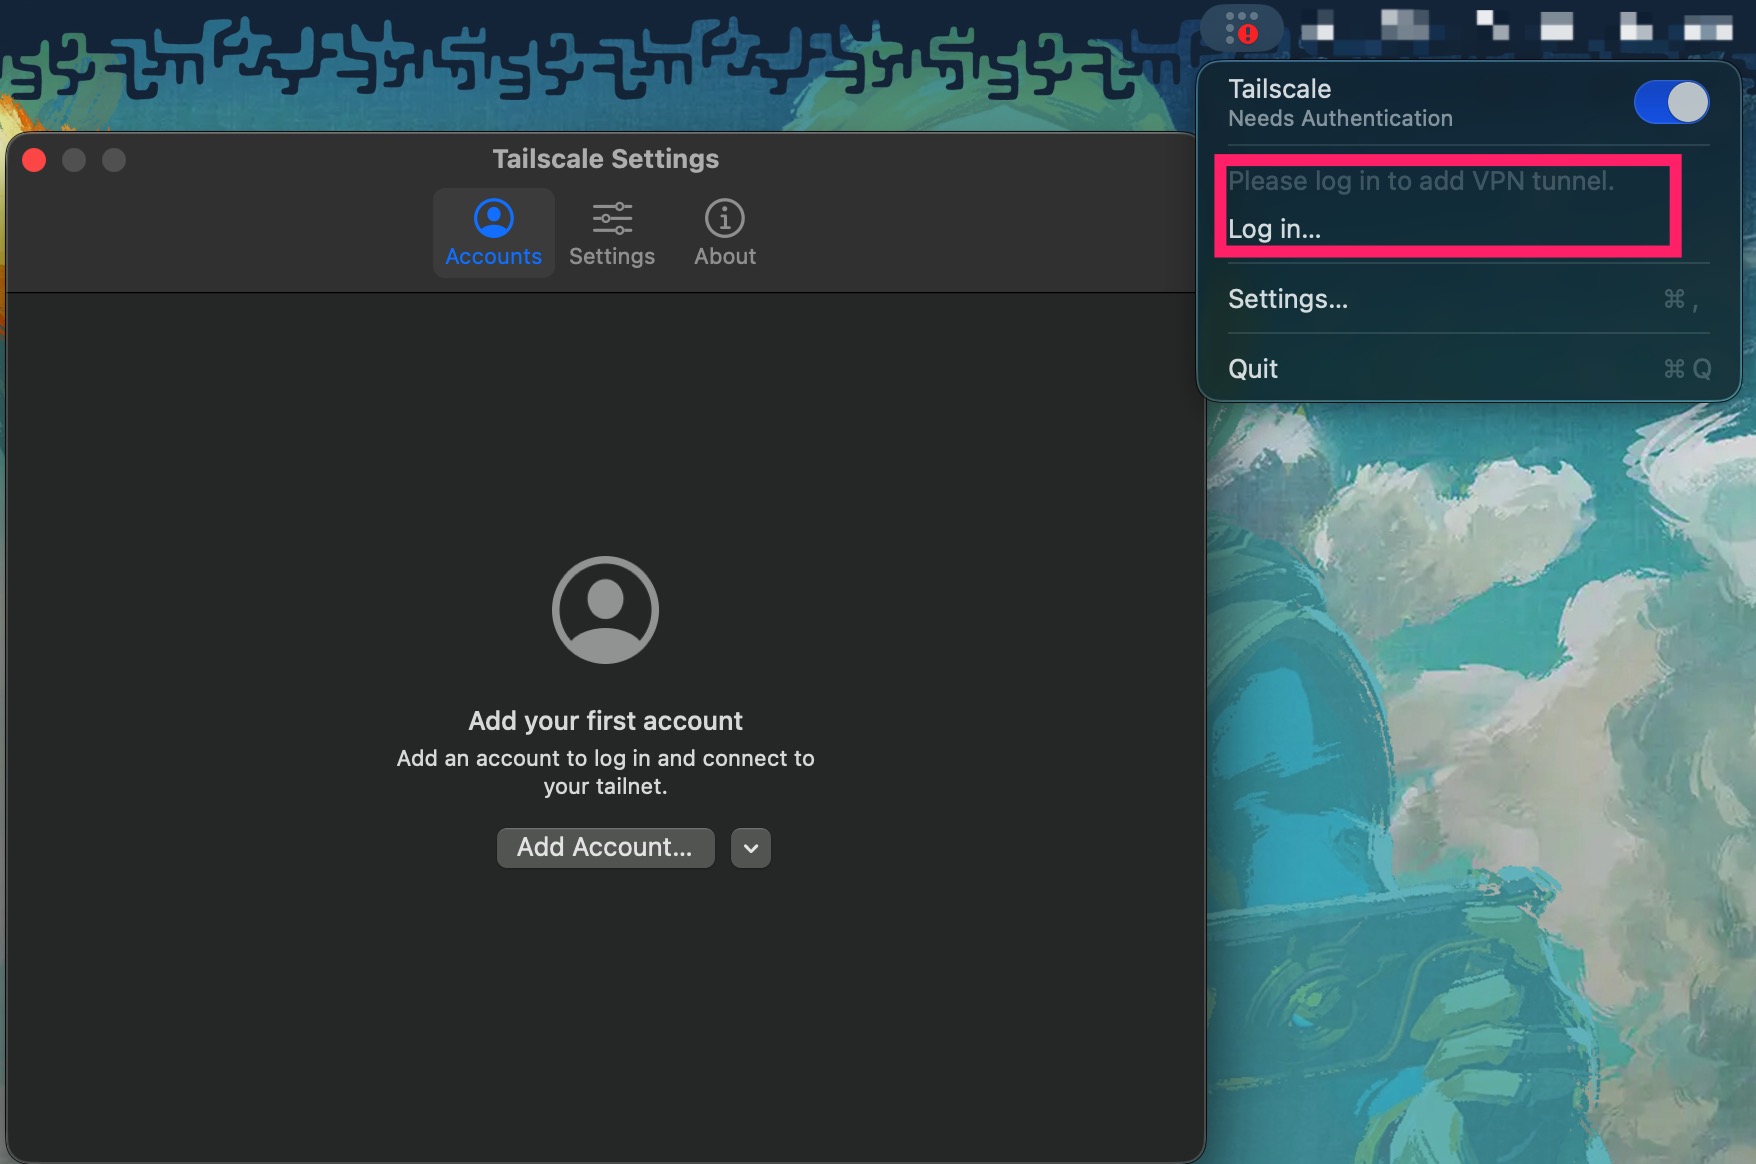
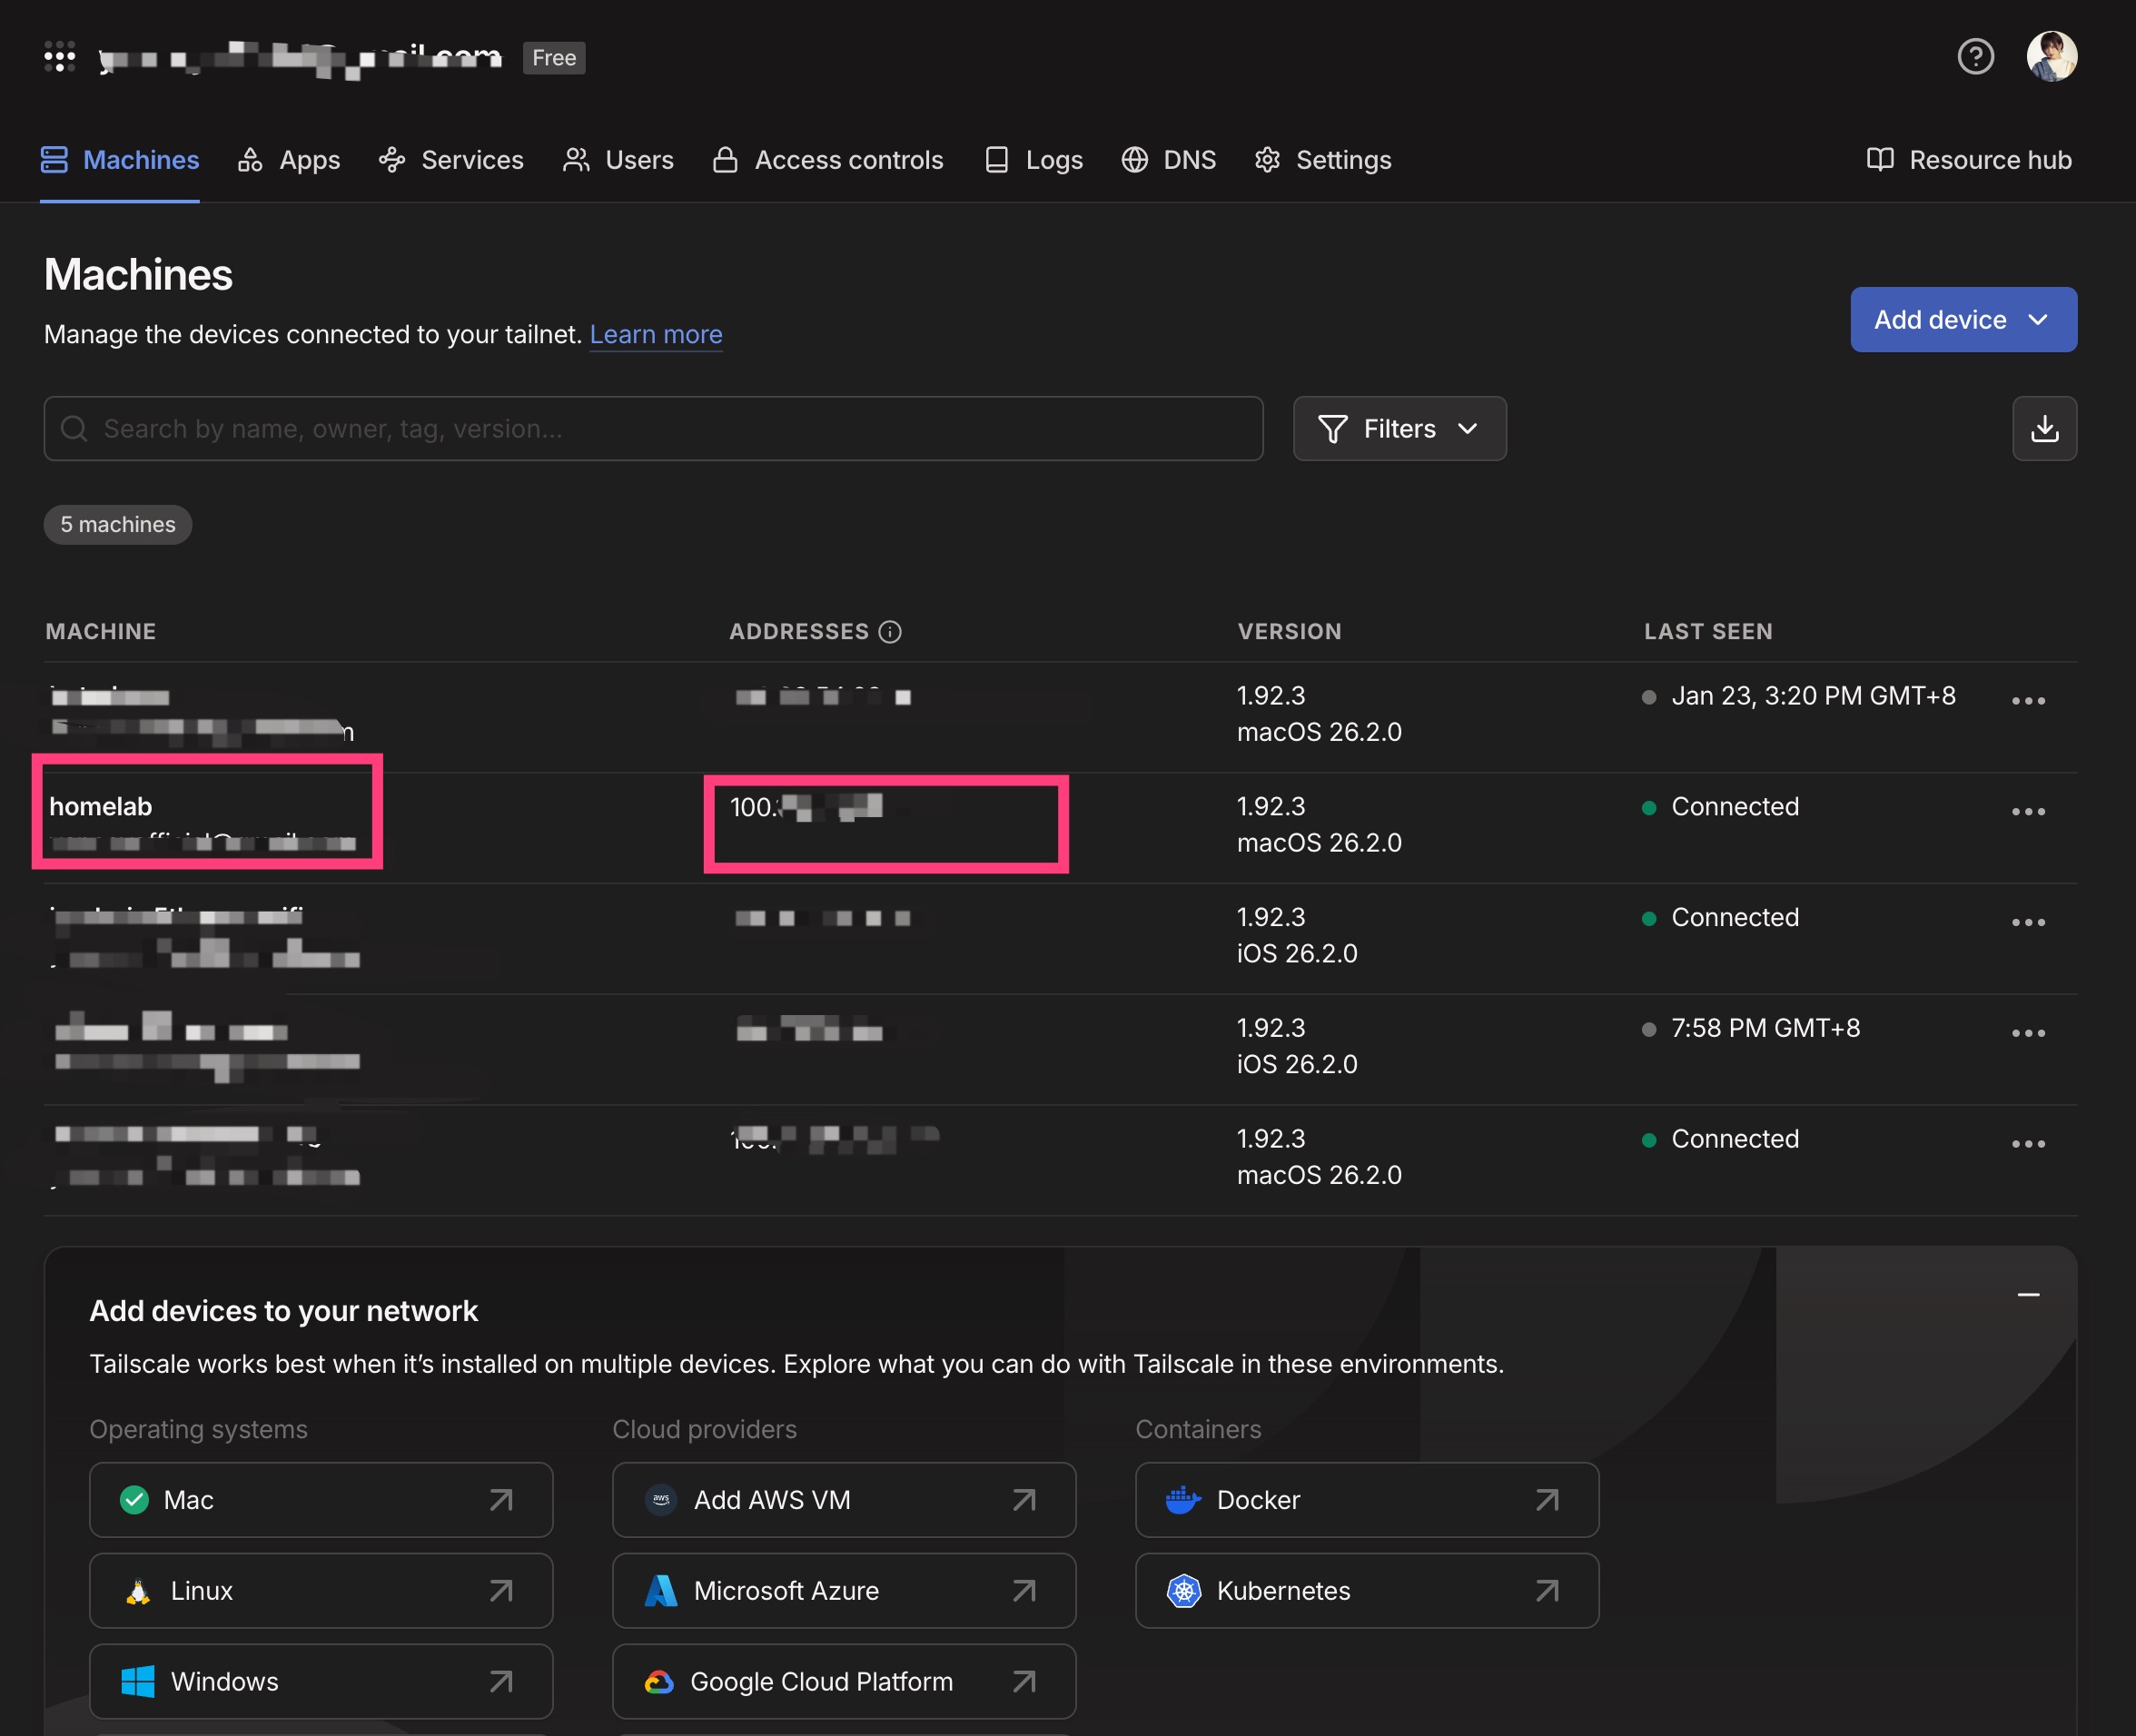
After registration, you’ll see your Mac mini already joined to your Tailscale network.
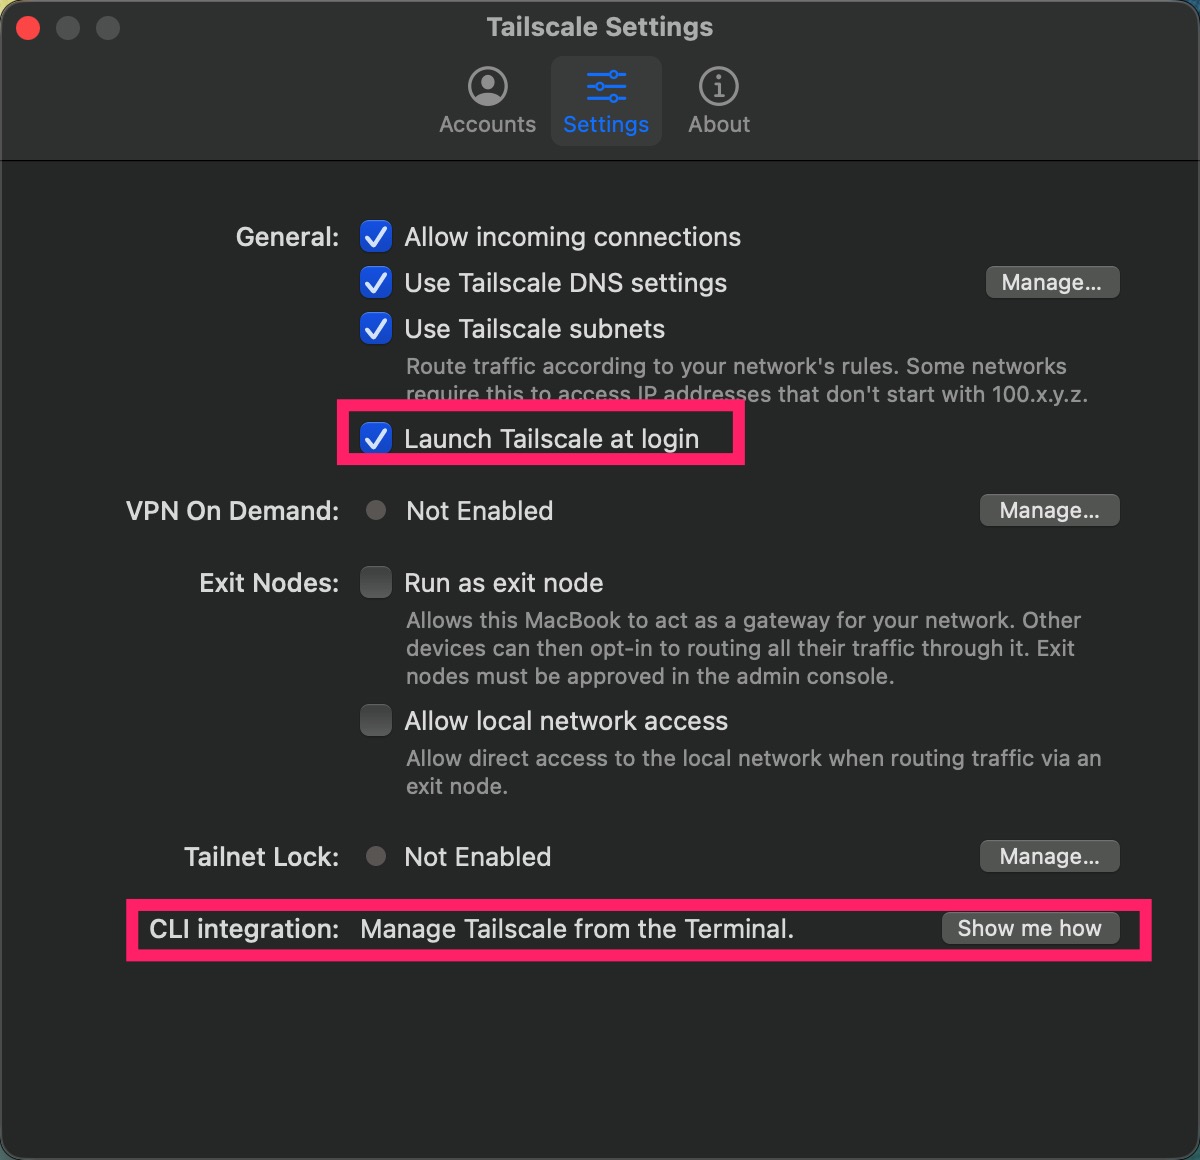
Recommended Settings
-
Enable Launch Tailscale at login
-
Make sure the
`tailscale`CLI is available in your terminal
Final Result
Install Tailscale on another device (laptop, phone, etc.), log in with the same account, and try connecting via SSH: `ssh homelab@100.xxx.xxx.xxx`
After completing these steps, you can safely disconnect the monitor, keyboard, and mouse, put the Mac mini in a corner, and treat it as a true homelab server—fully manageable from anywhere via Tailscale.

PREVIOUS POST
How to manually install Electron in your APP

NEXT POST
Using a Public Domain to Access Private Services